This is our homemade eggrolls, which turned out great, and super easy and cheap to make, along with our tangy sweet and sour pineapple sauce, honestly this was a great time, and is going to be a great meal for today.
Phase 1 The Egg Rolls
3 carrots quarter of a cabbage 4 cloves of garlic Ginger cut to the size of a thumb Put through a food processor
Garlic food processed first, start cooking in an oiled panned.
Put the rest in the food processor
Add in a pound of ground turkey to the pan and cook and break it up until its in small pieces.
Add in the rest of the veggies mix, Add in a few drops of hot sauce, sesame oil, rice vinegar, light and dark soya sauce and cook it until everything is all cooked.
Let it cool when done.
Once its cooled down take a wraper paint some water in an L shape along the sides.
We Air fried ours, so pre heat your air fryer to 350 degrees, and lets get back to wrapping our eggrolls!
Please watch the videos on how to wrap them, and you want to be sure to get the largest wrapper,
When your ready to cook, spray a bit of oil over all sides.
When the air fryer is ready to go, cook for 7 minutes, and then flip, then air fry for another 5 minutes on the other end and thats done, now all thats left is the sauce.
Phase 2 Saucy!
This is our Pineapple Sweet and Sour Sauce
We take some water, and put some corn starch in it and mix well.
In a pot take 2 cans of pineapple, and leave the juice in.
Add some water to it.
You want to keep mixing as you add things in.
Add some cinimin.
Add some red chili flakes.
Add some rice vinegar.
You need something sweet, but I would add some honey, rather than sugar.
Let simmer for 5 minutes.
You may need to put this through a blender to make it as smooth to your liking.
Let cool and your good to go!
We hope you enjoy this, this should be an amazing and tasty side dish, or just treat, super easy to make and best yet, you don’t need to deep fry this, let us know what you think!
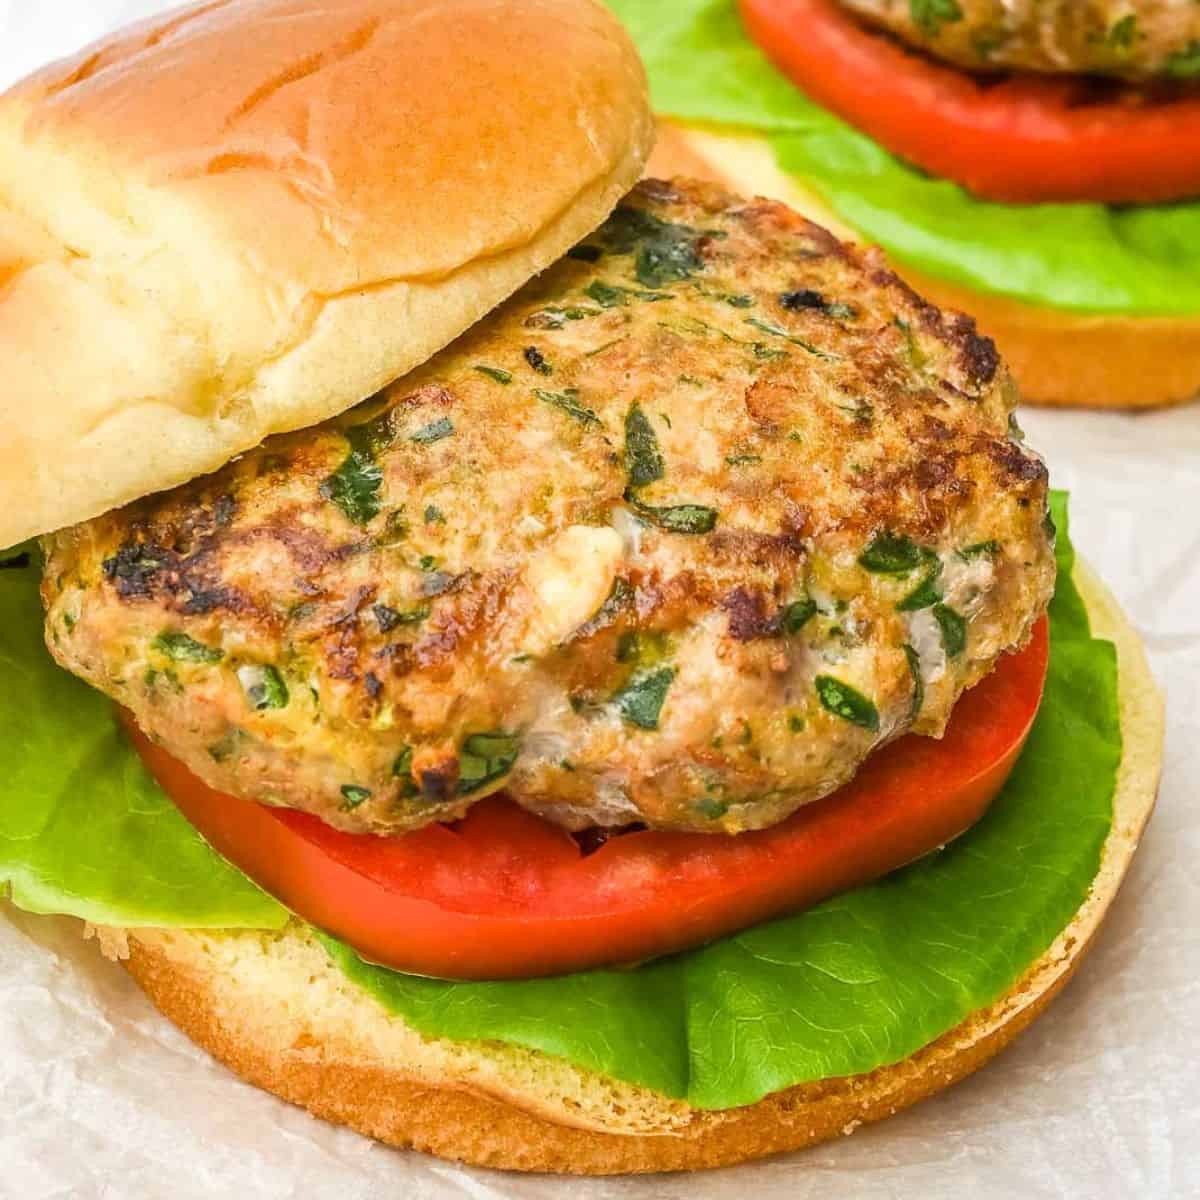
This is our homemade turkey burger, it has an amazing taste, and very flavorful, and yet so easy to make and this will be one of your families favorite go to burgers! We are sure you are going to enjoy this! Best part you don’t need an egg, nor do you need any bread crumbs to make this stay together!
Phase 1 Patty Time
In a bowl mix in the following
1 pound of ground turkey Worcestershire sauce Sweet soya sauce Liquid smoke Smoked Paprika Maple Bacon spice Fresh Black Pepper Onion Powder Lo-Salt (or No Salt)
Take your time and mix this with clean hands until everything has been mixed in properly and then this should make 3 patties.
Set the patties in the freezer for at least 15 to 30 minutes to firm up.
Phase 2 Lets get saucy!
In a bowl mix the following.
Mayo Apple Cyder Vinegar Mustard Sweet Thai Chili sauce Mix this very well.
Phase 3 Lets get cooking
Cook the burgers on the stove top with some oil until the burgers are completely cooked, you don’t want to food poison anyone!
Phase 4 Putting things together!
You want to serve this with a nice bun, using some lettuce, cheese, onion and your done!
We hope you enjoy this, we really love this burger, and yes we do like our beef and all, but we need something new every now and again, and this is 100% worth it!
By the way if you haven’t please support us by watching our videos hitting the like share and subscribe button, thank you!
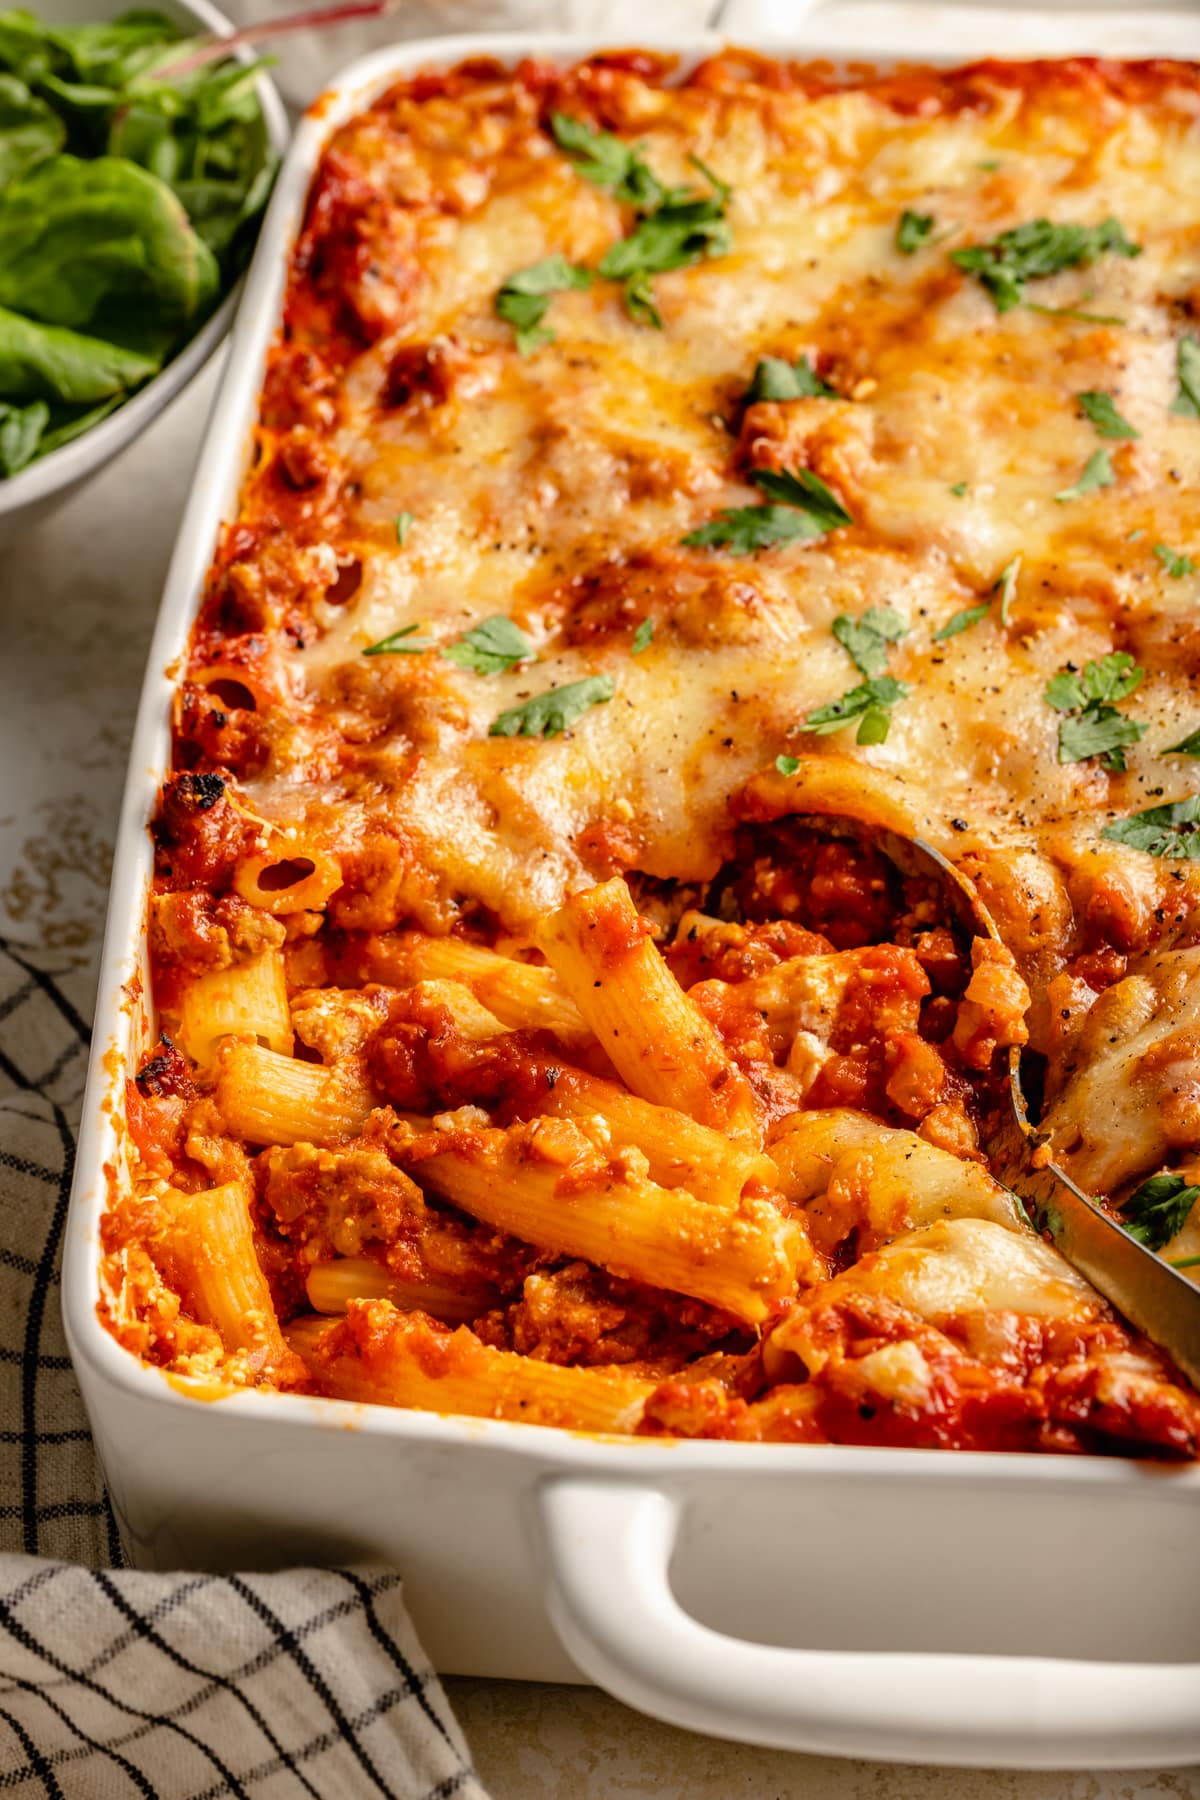
Baked Ziti can be compared to lausuagna but there are differences, and it can taste absolutely amazing, and a very fun dish, doesn’t take a lot of prep time and can be quite tasty, and a crowd pleaser.
You can buy your marinara sauce, or you can buy it, see the link below to our homemade marinara sauce we made.
So if you have a food processor run these through it to get it almost puried, if you don’t then chop it up as finely as you can.
1 Large onion, a whole garlic, roasted peppers (This is optional, you don’t have to have this.)
Phase 2 Cheese Please!
You will want to grade a lot of parmesan cheese, (You can buy this pre graded.) and your Mozzarella, (please do not buy pre graded.) You are going to need enough of this.
Phase 3 The Noodles
Normally this recipe calls for Ziti noodles, however these are not always easy to get, and in fact, I’ve never been able to find them, penne noodles work just fine.
Cook your noodles either near done, or done according to the package directions, when done drain the water, however do not drain them as we need the starch on it later to help the sauce to stick to the noodles.
Phase 4 The Sauce
Oil your pot and put your onions and ground beef in, cook until the onions are getting cooked, then add the garlic and then roasted garlic , put salt and pepper in.
Put 5 cups of marinara sauce in and mix well.
Put a container of robata cheese in and mix well.
Add your pasta and mix it.
On a casserole dish put a small spread of your meat sauce no noodles.
This way you won’t need to grease our pan.
Pre Heat your oven to 350 degrees.
Now put half of your meat sauce into the pan.
Cover in half your parmesan cheese, and your mozzarella
Now put the rest of your meat sauce in, and cover the rest with cheese.
Now bake it for 25 minutes!
When done leave sit for at least 10 minutes before serving, (other wise your going to have a lot of loss flavor)
Serve!
We hope you like this, its one of our favorite dishes, and we through we would come back to this and share with you our favorite!
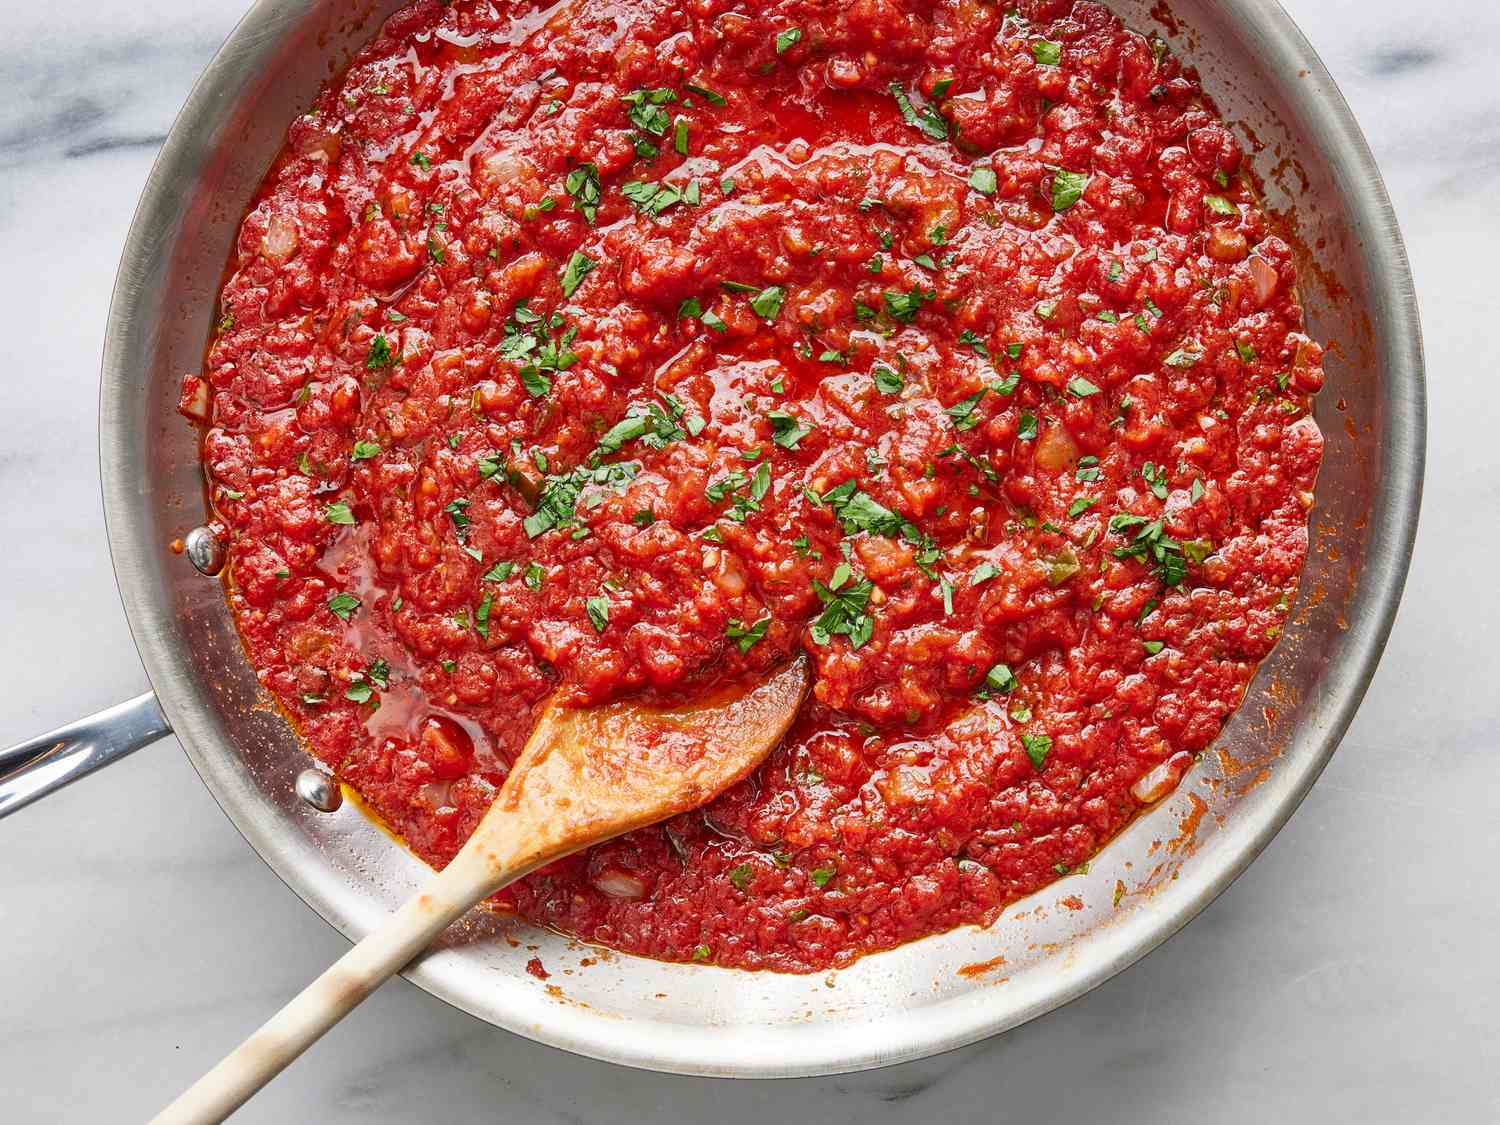
Marinara sauce is one of those Italian sauces that you are going to use on almost every type of pasta sauce, spaghetti sauce, pizza sauce, Lausanne sauce, this sauce is very versatile and can be used for a lot of different things, and honestly tastes great.
And another fun fact, is you can easily buy this, and yes you can, but it also has a lot of preservatives, and not as healthy or even as good tasting. Sure its more convenient, and some times cheaper, but your sacrificing taste, and at the end of the day what do you want a cheap meal, or do you want something that has value and taste!
You might think this is a hard dish to make, and really it isn’t.
First question, do you have a good blender, if not do you have a good food processor? If you don’t have a good blender, take all the ingredients you have to chop and put them through a food processor, if not, chop them as fine as you can, along with the tomatoes take a potato masher and be ready to mash them once cooked, if you have a blender follow along, you can be creative on making things work!
Canned tomatoes are the best you can use for this unless you have ones grown from your garden, buying tomatoes from your grocery store isn’t as good as canned ones.
Phase 1 Choppy Choppy
Chop up one large onion, 2 whole garlics, 3 to 5 chili peppers.
Phase 2 Cook time!
This would be the easiest in a Wok, other wise a big pot might be better, or a very large frying pan.
Add a lot of extra virgin olive oil in your pan and heat it up really good, when its hot and bubbling then go to the next step.
Put your onions in and cook them until they start getting soft.
Add your garlic and cook them until they become fraquent.
Add in a few sprays of white wine, (You can use red, but its a bit heavier, rice wine would be ok too, or you can leave this step out.)
Add 3 cans of crushed tomatoes, you can add what ever type of canned tomatoes you want, for tomatoes they should be canned unless you have garden grown tomatoes, (those are best).
Add a lot of oregano, parsley and basil, and mix that in well.
Add some chili peppers, this step is optional.
Add some salt and pepper.
Cook this out until its done, and take it off of the heat.
Put the sauce through a blender.
Once cooled down bottle and fridge.
This is one of the most tastiest and amazing and far healthier than store bought, if you trying to entertain, this will really impress them, and if your going to do Italian, lets do it right, we hope you enjoyed this!
How often do we go to our favorite breakfast or coffee joint for a breakfast sandwich, in Canada we go to Tim Hortons a lot and we enjoy our coffee and our breakfast there, but it gets costly, and often we can do it our selves, and make it better.
You can choose your own meat, your own cheese, and make it taste amazing, and the best part its what you want, and should be cheaper and healtheir!
So lets break it all down.
Cut an English Muffin in half and spread some mayo over it, if you want to make your own mayo mix you can do that, chipolete sauce would work great here!
Heat up your pan and put an egg on it breaking the yolks and cooking it with pepper and salt (lo or no sodium salt if you can.)
Remove from the stove when cooked and the toast the English Muffin over the stove too, and remove it.
Place your Eggs on the bottom part of the English Muffin.
Put some hot sauce, we like Sweet Thai Franks Hot Sauce on ours.
Put some grated cheese over it.
Put a sliced onion over it.
Close it up and serve.
This was easy, simple, quick and cheap, and honestly worth making for your breakfast, and it really levels your cooking up!
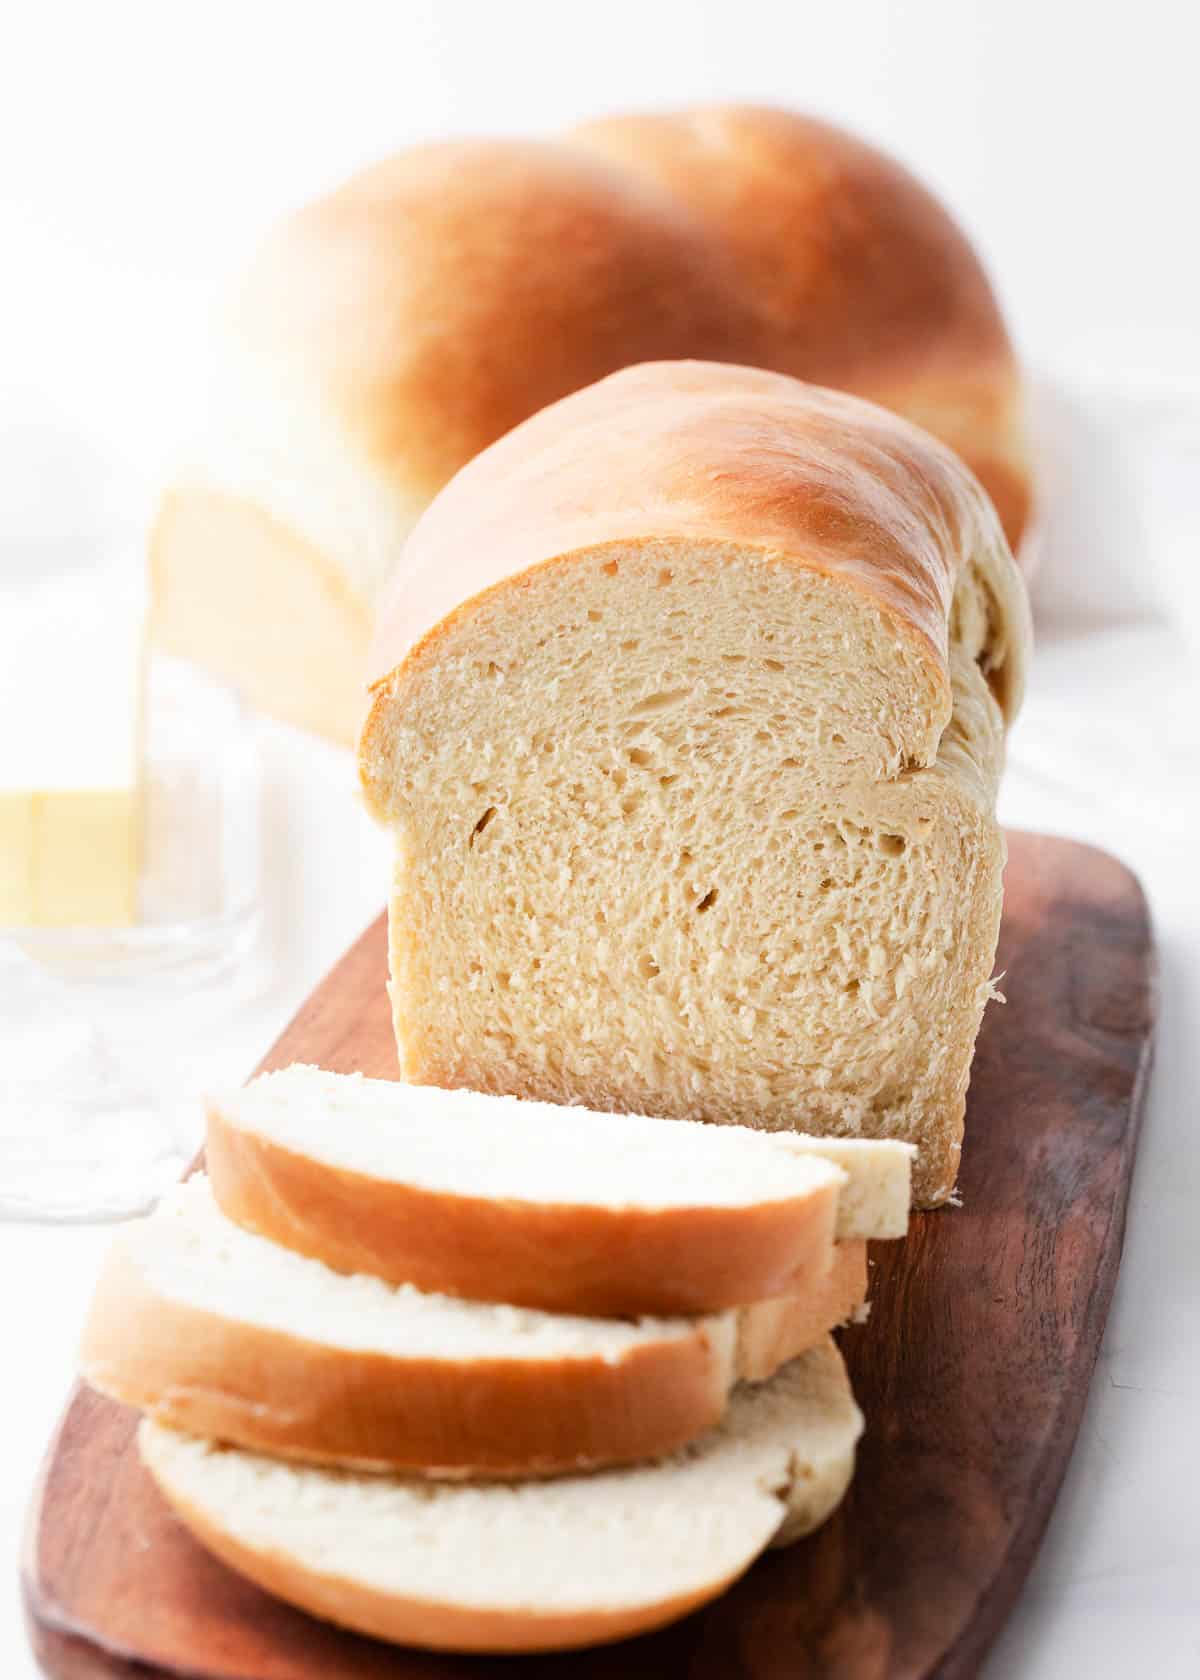
Start putting the ingredients into your breadmaker.
1 Warm Water 2 tablespoons of white sugar 2 tablespoons of yeast
Let this sit for 10 minutes before moving on to the next step, this is necessary for the yeast to start activating, please do not skip. (You don’t need the sugar, bread is carbohydrates, so it will break down into sugar soon anyway)
After 10 minutes have passed lets put the rest of the ingredients in.
1/4 Cup of Vegitable oil
3 cups of all pourpose flour, (You can use bread flour if you want.)
A small sprinkle of salt you don’t need a lot of this.
Now that its all in, the key is to use the right setting or it won’t work, so pay attention to this, and it should work fine.
In the end you should have some homemade bread, which should be cheaper and much tastier and you won’t have to worry about all the extra chemicals that usually come with store bought, and if you think about it, the only extra thing you should have to buy is flour, which should last a while and yeast which won’t be a 1 time use thing!
This is an excellent snack, it can be un healthy, and quite hot if you let it be, and you can customize it the way you want, in this recipe I am making a simple base, yes there is a bit of addition to mine, but not a whole lot, we are trying to present this in a healthier way so we are avoiding doing the butter (Yes I am aware that it does add to the flavor, but its unhealthy and I’m not sure its nessasary with all that we have in it already.
Phase 1. Corn
Cook your corn, its normal to use white corn, however not everyone can get access to it, we couldn’t find it at all.
If your using canned corn drain first, other wise cook your corn, we used a bit of low sodium salt, so me peper and tajin.
Let your corn cool off before proceeding.
Phase 2. Putting it all together.
This was easy wasn’t it?
Put some corn in a cup, now presentation is not important, not everyone will care that much.
Put 2 spoon fulls of cream cheese.
Put 2 good squirts of mayo. (Please do not use Miracle Whip)
Put a bit of lime juice over it.
Put some of your favorite hot sauce, we used Franks Sweet Thai Chilli, my absolute favorite!
Then finally add a few sprinkles of Parmesan cheese and thats it your good to go!
This is a great little snack, very tasty and easy to make, a good pleaser, we hope you enjoy it!
Sandwiches are great, but ever wonder why yours looks bad and get stuck buying one just to get one that looks and tastes great?
I’ve been guilty of it, and I know so have you, but here is the thing, you have to consider the quality of meat your using, the type of bread or bun your using, and sauce and how its going together, it really does mater.
So lets take some time and think about it.
Phase 1. The meat!
The meat is a big part of a sandwich, and often if you go to the store and buy sandwich meat, its thin, not as flavorful and just not the best quality around, so what do we do?
In our video here we used chicken, but you can use pork or a beef product, season it to what you like, pepper, salt if you must (I like low sodium myself), maybe some honey, and bake it until its cooked , but you want it moist.
When done take it out of the oven, let it cool and then slice it thin, or however you like it, many of us don’t have a meat slicer and thats ok, (who has room for that anyways.), when done put it in the fridge for a bit.
Phase 2. Veggies.
Cut up your veggies nice and thin, but remember to use veggies that are dry, cukes and tomatoes are nice and all, but they can often be wet and can make your sandwich a soggy mess, so if your going to use tomatoes make sure you are not putting seeds in, this will ruin it, take those out. you want lettuce or spinach or something similar. make sure to have several varieties or your sandwich is going to be boring.
Phase 3. Sauce.
Directly on the inside of the bun on both sides, I like just plain mayo over that, it acts like a lubricant, and helps keep the bread from going soggy, you can do a mayo mix with hot sauce, or mustard or other things to give it a bit more flavor.
You can use other sauces like BBQ sauces, or a vinaigrette, or other tasty sauces you might want to include.
Phase 4. Cheese
You need cheese, plain and simple and to be honest you do not want cheesewiz, you want something of quality, you can get cheese slices, but honestly that brings you back to just making bland crap, so you can buy a block of cheese and cut that up, or go to the deli and buy a really nice block of cheese, trust me the flavor this brings is so electric and amazing, and trust me the cheese that you get from the deli is actual real cheese, and if you’ve never had it, trust me you need to.
Phase 5. Bread
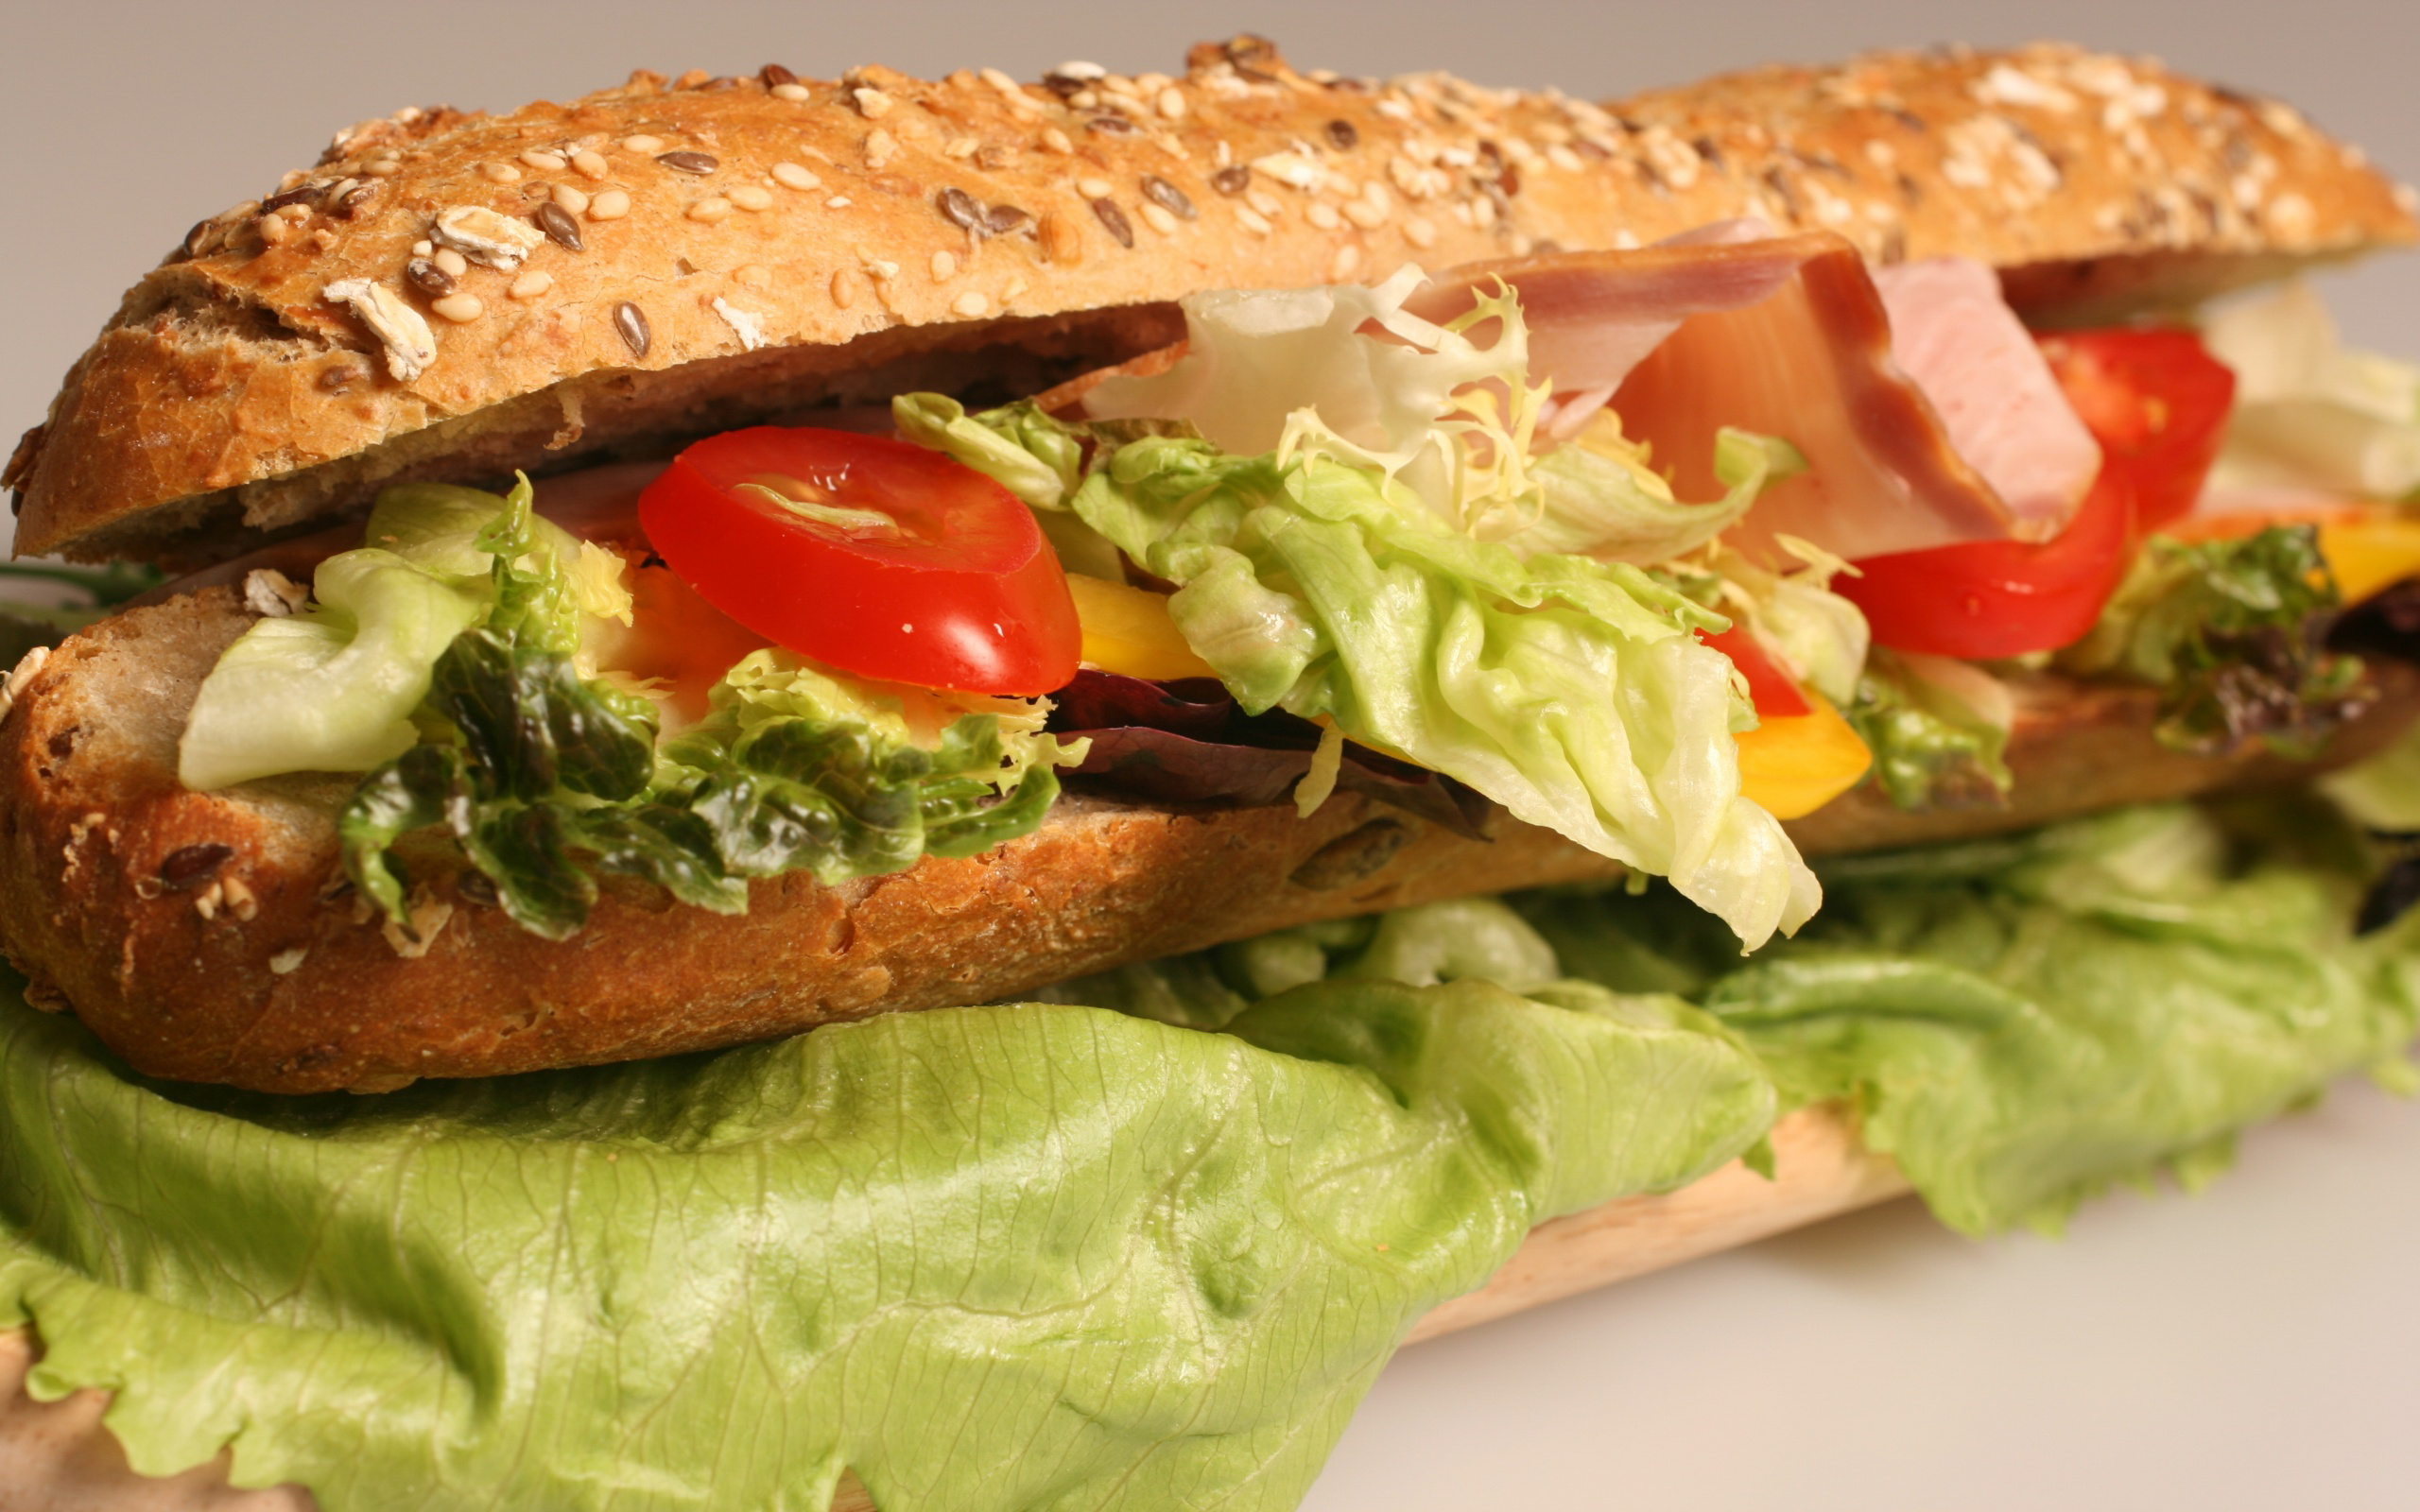
You could use whtie bread, but when you buy a a good quality sandwich is it on white bread, most often it isn’t, why not choose a multi grain, or even better a nice bun, or roll, after all you want the best quality you can get, and this is going to do it.
Phase 6. Putting it all together!
Ok, so here is the fun part, not the most fun part, that is you eating it.
Take your roll and cut it down the middle, or if its bread just use both slices, but put your mayo, or mayo mix on the bottom of each side, this will act as a lubricant, which helps from keeping the juices getting your bread product
Then put some lettuce on the bottom and layering it nicely.
Now you want to take your meat and start layering that as well, giving it a nice presentation and having enough on it to make you happy.
Now start putting your veggies on it one by one, keeping in mind not to put too many veggies on it as it will make it messy and also hard to close, this isn’t a Subway sub, they do give you lots of veggies, but not a whole lot, and in the end it does look good, but the quality isn’t there.
Now your sauce you want to use, and remember do not over load this, or it is going to be messy, you want to have enough you taste and know its there and are happy, but not so much its going to over flow.
Then your cheese, and you want enough of this, especially if its from the deli.
Then lastly some more lettuce and close your sandwich.
The only thing left to do if you really want, you can put this in a pre heated oven to toast it.
But thats all, try this out some time, and if your someone who would enjoy to bring this to your work for lunch, buy the quantities for the week, and do the math, I bet you its cheaper than buying it every day, and honestly your co workers are going to be jelous!
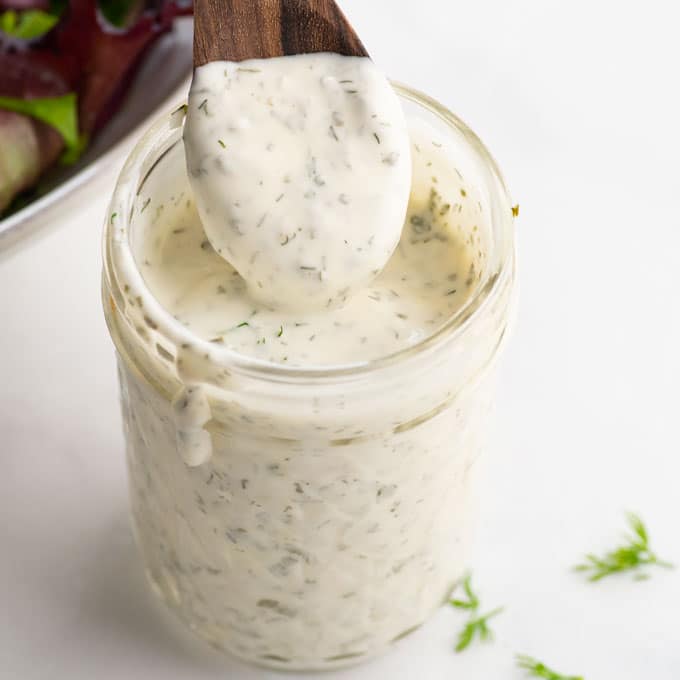
This is a super easy and healthy recipe, made to help those who are tired of eating fatty unhealthy dressing that ruins the health level of your salad, after all, you have a nice healthy salad and then you ruin it by adding a salad that has a lot of oil and other fats that make it worse.
This is a super easy dressing, you simply take 1 or 1.5 cups of cauliflower boil it so its nice and soft, let them cool off a bit before continuing.
In a food processor take 1 clove of garlic, a 3rd of a small onion and 1 cup of cashews and grind them down really good.
Now chop up some dill and parsley.
Now in a blender add your cauliflower then add in 1 cup of cold water.
Add a small amount of apple cyder vinegar, you should always have this on hand as its one of the best things to add to your diet.
Add your onion garlic and dill and parsley, and then add your cashews!
Now blend this up until its the right consistency,
Let this cool off in the fridge before serving, and I promise you this is going to be one of the greatest dressings you will ever have, and best yet, name one thing in this that isn’t healthy! Just pour it over your favorite salad and your game.
I’d like to welcome you to our site, we just got this back up and going, its been a while, we would love to have you go through our YouTube channel by clicking on any of the recipes we share, they should all have a video with them.
We hope you can at least learn something or have a take away something that helps you with your diet.
We try to help show different ways to cook things that sometimes we don’t want to try because of our special diets, and we are making an effort to fix this.
We’d appreciate you watching our videos and hitting the like and subscribe button for us, it would mean a lot.
We also offer a Discord Chat, Facebook Chat, IRC and WhatsApp, drop us a line if your interested!
I really hope you enjoy what we are doing, and love to have you a part of us.